How to Create and Organize Menu Sections
Structuring your menu categories, reordering sections with drag-and-drop, and setting scheduled availability.
Steps
Add a new menu section
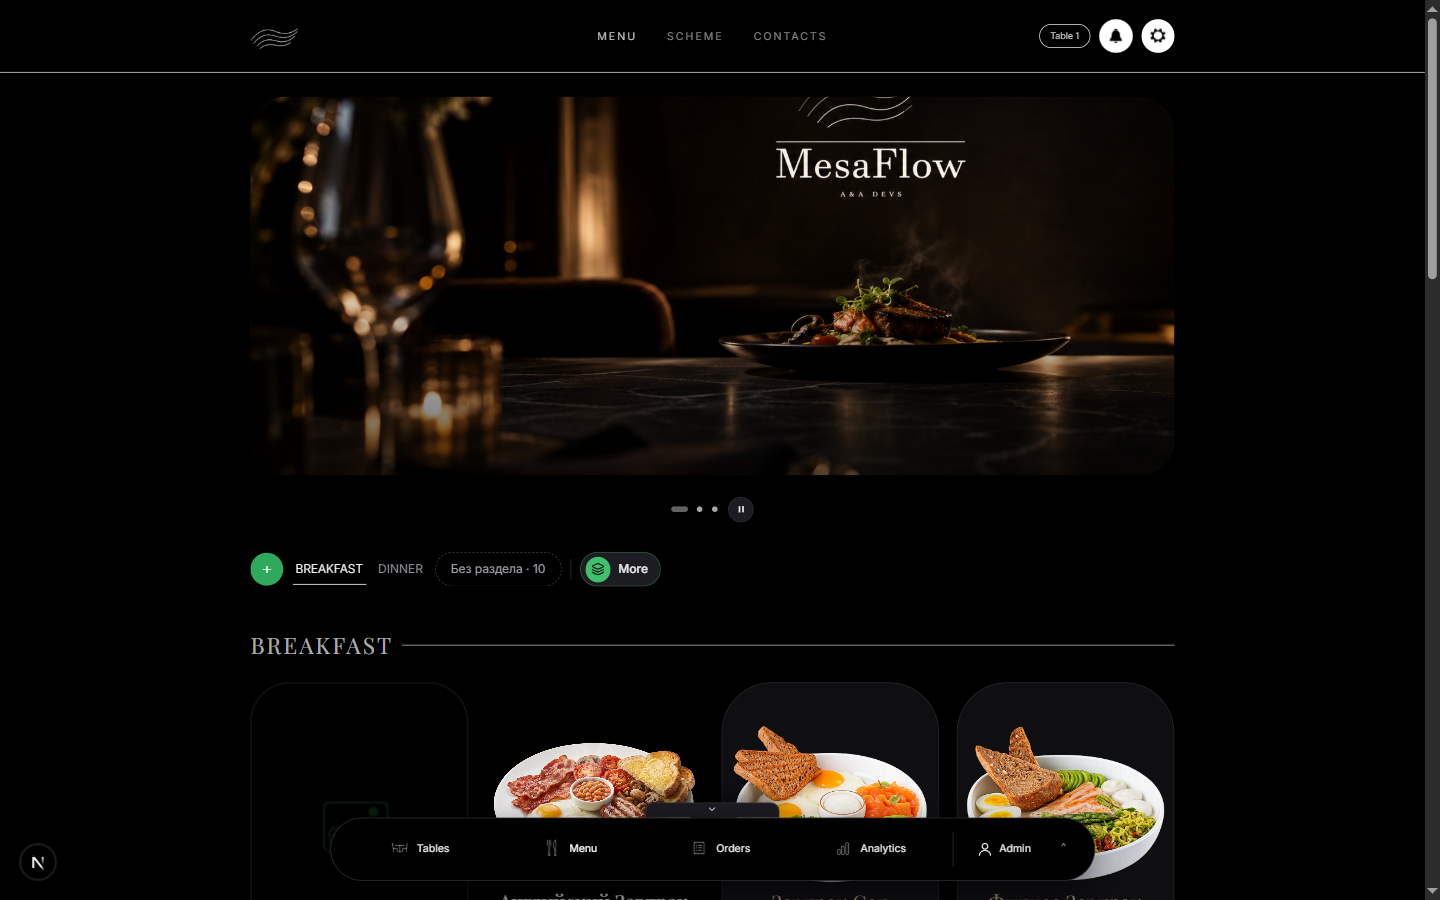
Click the "+" button in the section bar or tap "Add Section".
Enter a section title (e.g. Starters, Main Courses, Pasta, Artisanal Desserts, Signature Cocktails) and an optional subtitle or description.
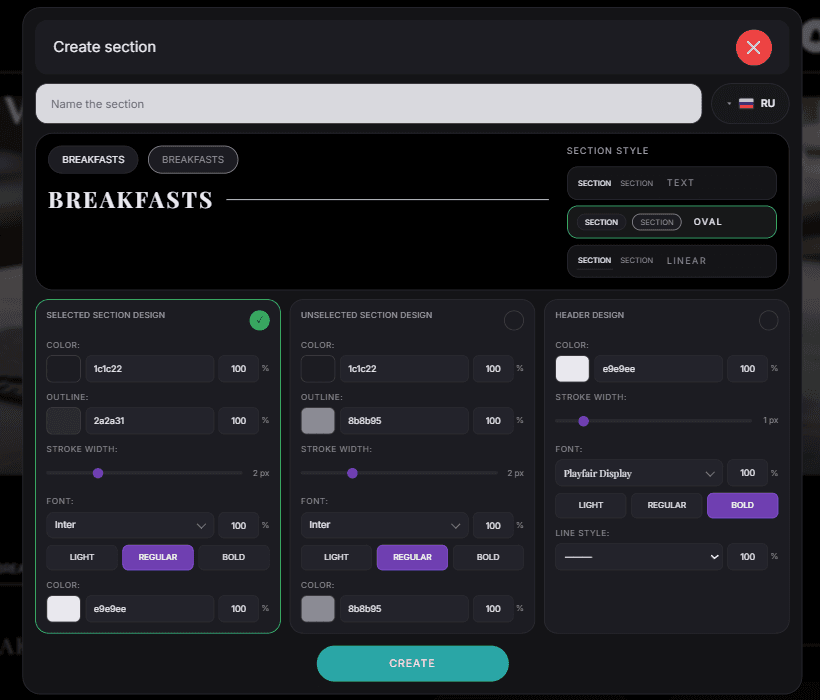
The green + opens Create section. Name the section, pick a style, then press Create. Reorder sections
Click and drag any section tab to change the display sequence.
The order in which sections appear in the constructor is the exact order guests see when scrolling the digital menu.
Set scheduled availability (Optional)
Click the clock icon or "Availability" on the section tab.
Configure specific serving hours (e.g. Breakfast from 08:00 to 11:30) or specific days of the week. Sections outside their scheduled window automatically hide from the active guest menu.
What you should see
Your menu sections are organized and scheduled for display during service.
Good to know
- Sections can be marked Out of Stock in one click during a rush if the entire department is unavailable.
Related guides
- How to Add and Edit Menu Dishes and CombosCreating menu products, setting prices, configuring modifiers, specifying ingredients, and assembling combo sets.
- How to 86 Items and Mark Stock UnavailableInstant out-of-stock toggling for sections, individual dishes, or single ingredients during service.
- How to Configure Section Prep Times and Order TimersFine-tuning kitchen preparation targets per menu section and adjusting the New, Cooling, and Critical queue thresholds.