How to Set Up a Restaurant in MesaFlow
A guided checklist for owners and managers preparing a new location for daily operations.
Before you begin
- An active MesaFlow account with Owner or Manager credentials.
- A list of your restaurant tables and floor zones.
- Your menu items, categories, prices, and photos.
Steps
Create a table group
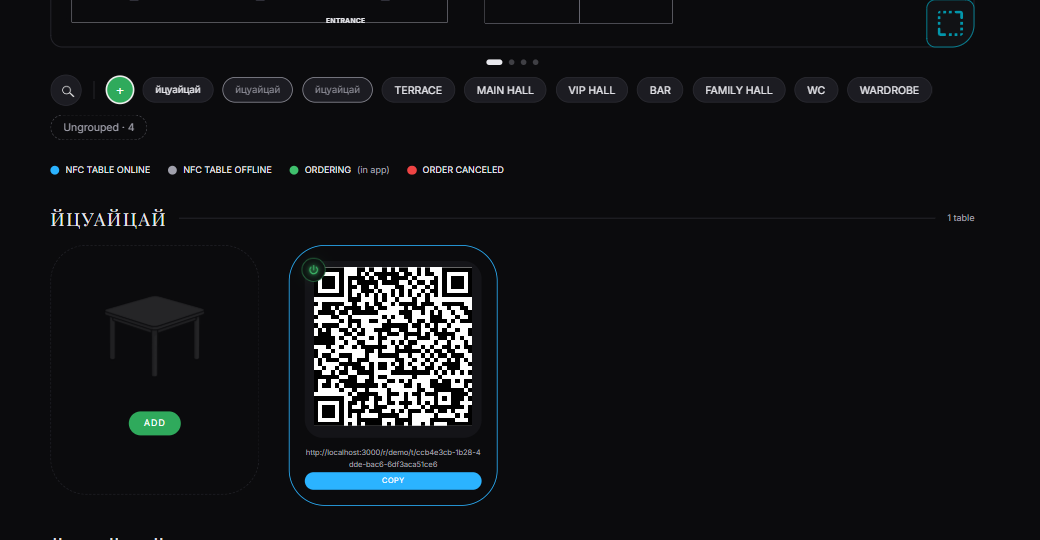
Open Dashboard → Tables (`/dashboard/tables`) and press the green + next to the search icon.
A table group is an area of the restaurant, such as Main Room, Patio or Bar. Name it and press Create. Every table belongs to a group.
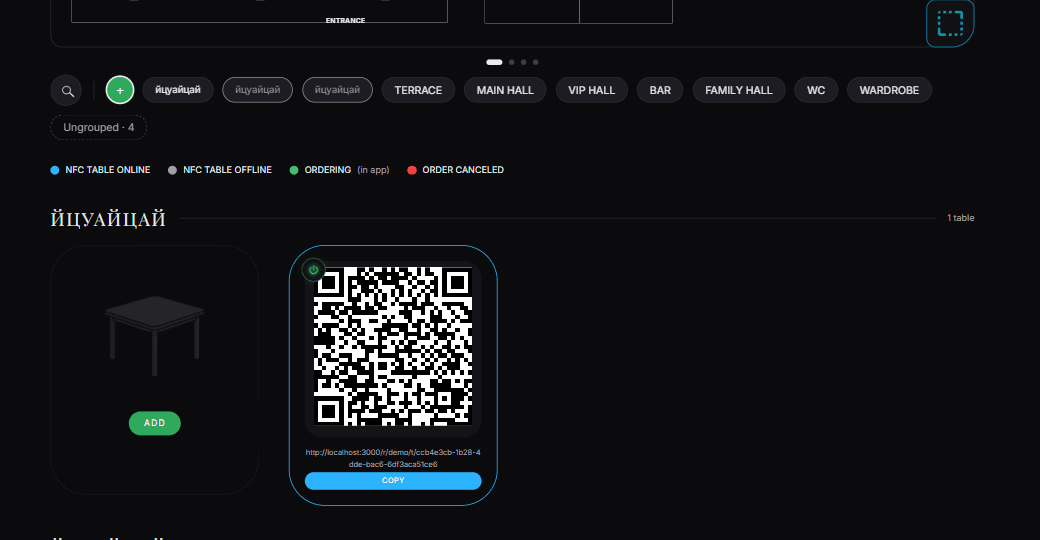
Dashboard → Tables. The green + next to the search icon creates a table group, such as a hall or a terrace. Arrange the tables in the Scheme
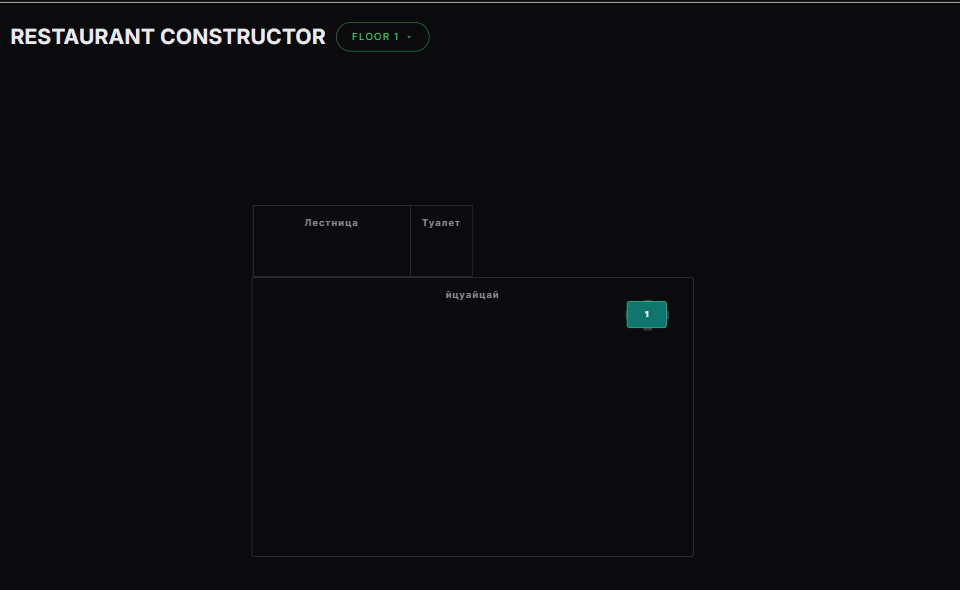
Open Dashboard → Scheme (`/dashboard/scheme`), the Restaurant Constructor.
Place the halls and tables so they match the real room. Waiters see this layout on their floor plan, so create the tables first and arrange them here.
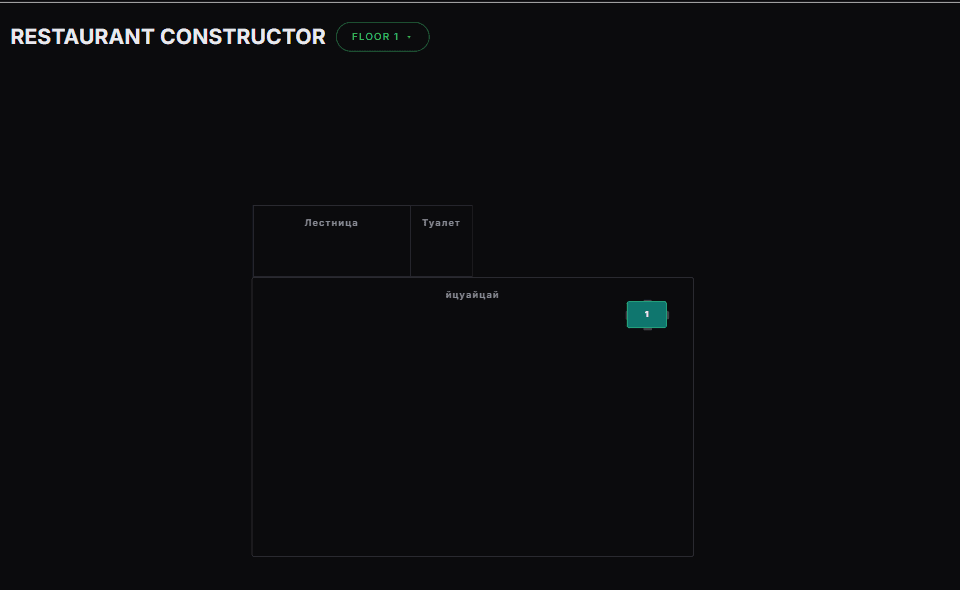
Dashboard → Scheme (Restaurant Constructor). Halls and tables are placed here to match the real room. Build your menu structure
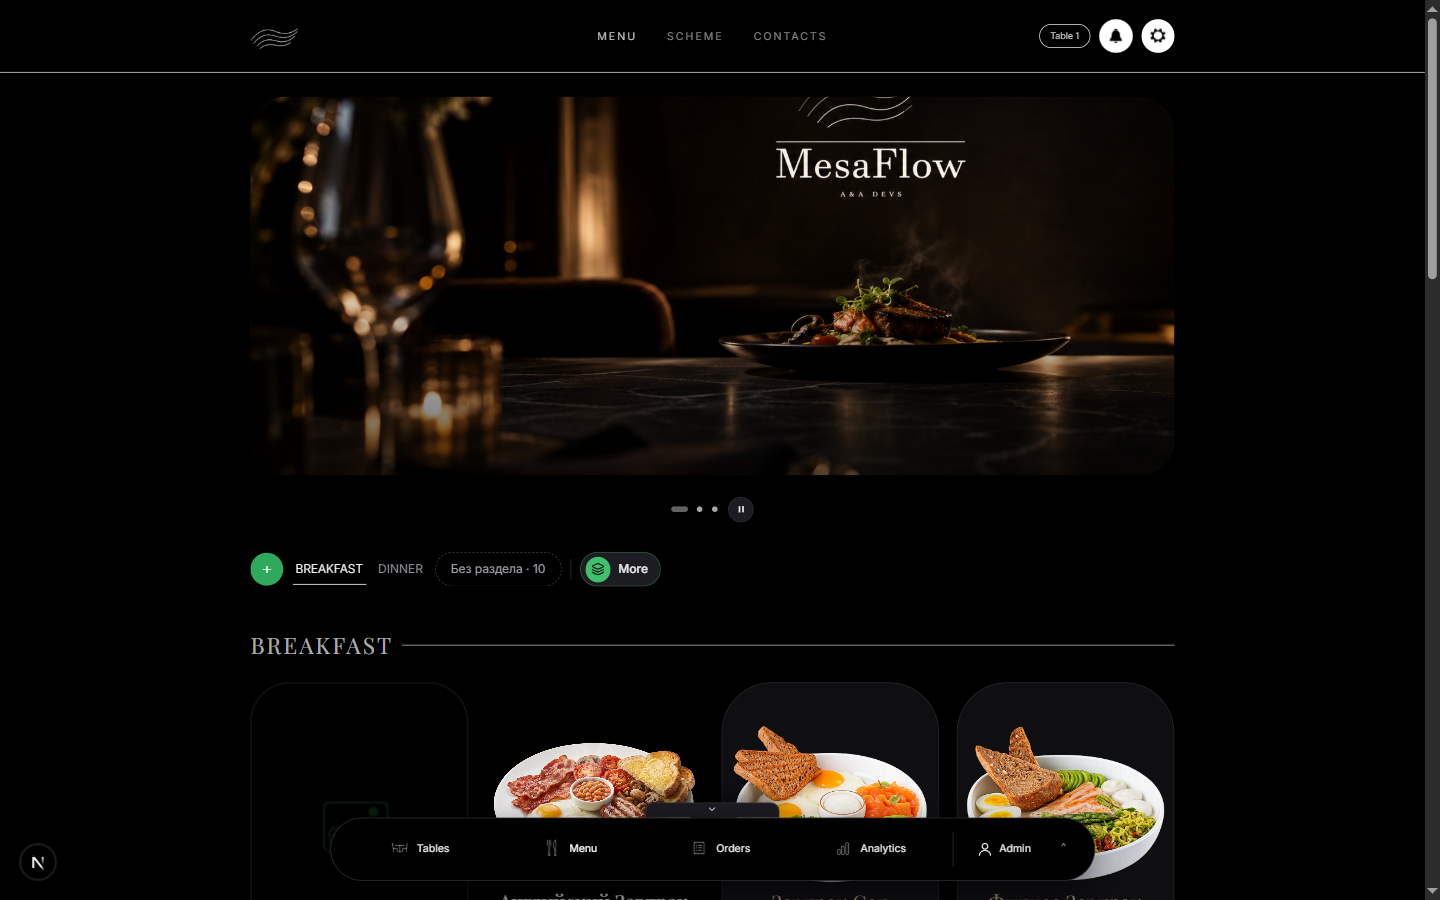
Go to Dashboard → Menu (`/dashboard/menu`).
Create sections (Appetizers, Mains, Drinks, Desserts), add products with descriptions, set prices, and configure optional modifiers, portion sizes, and base ingredients.
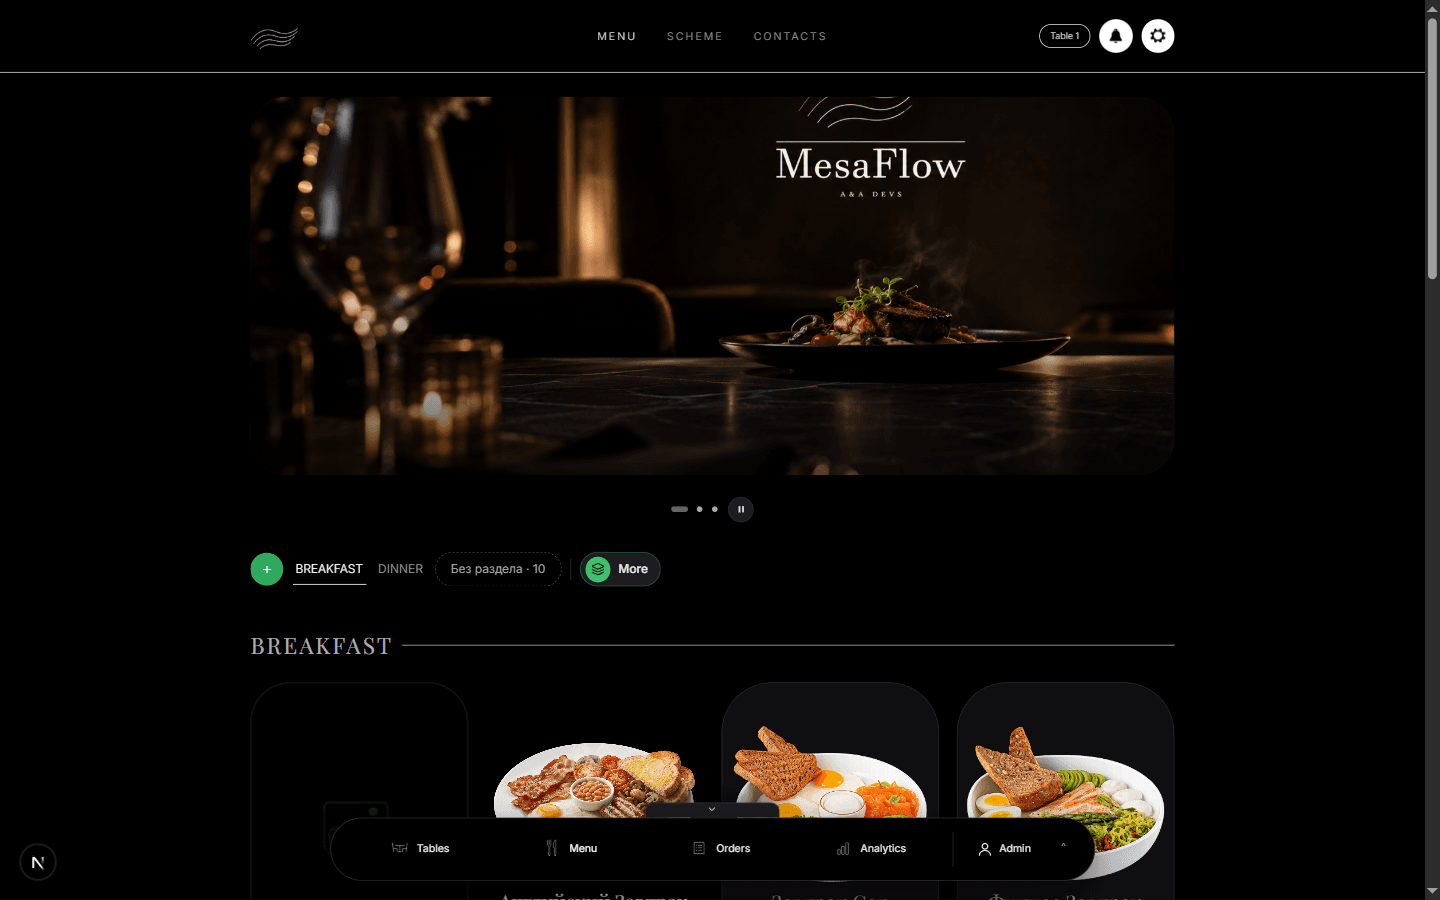
Dashboard → Menu. Sections sit in the chip row; the green + adds one. Invite staff members
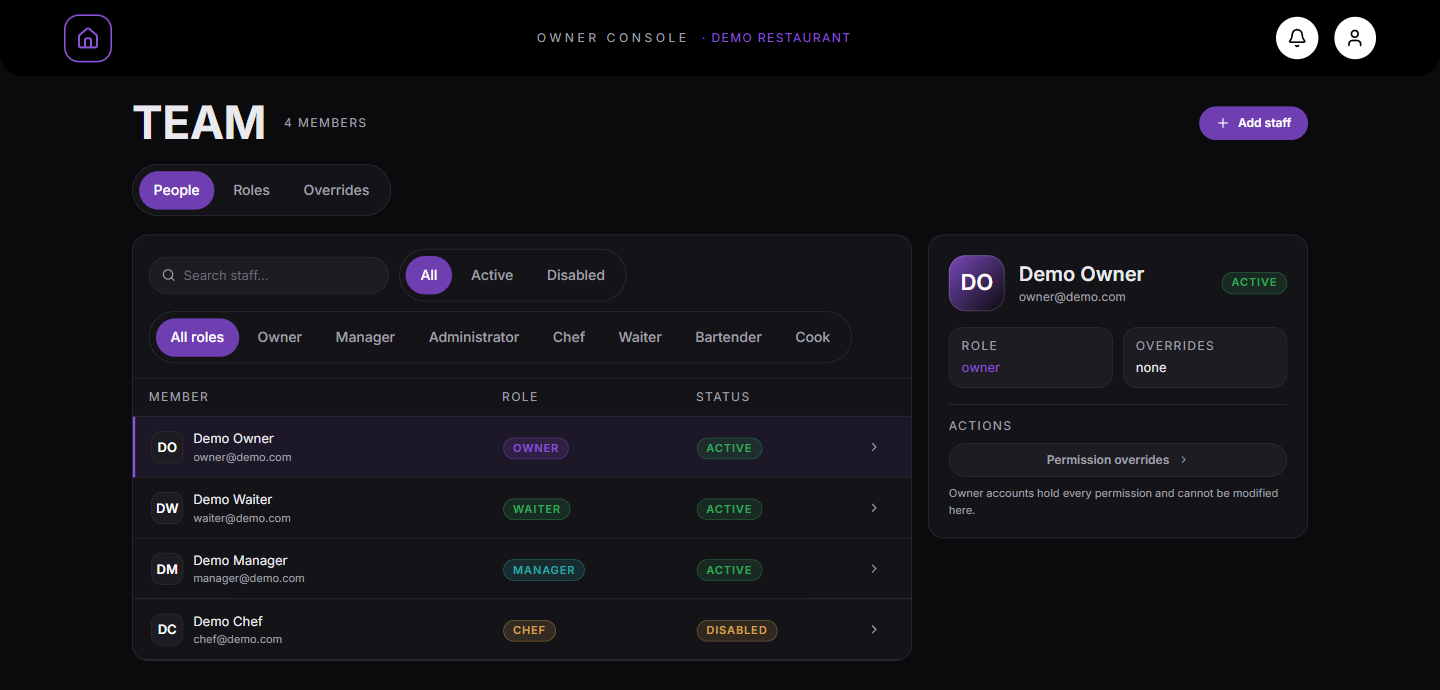
In the Owner console, go to Team → People (`/owner/staff`) and click "Add staff".
Enter each staff member’s email and assign their role (Manager, Waiter, Chef, Bartender, Cook). They will receive an invitation or temporary password to sign in.
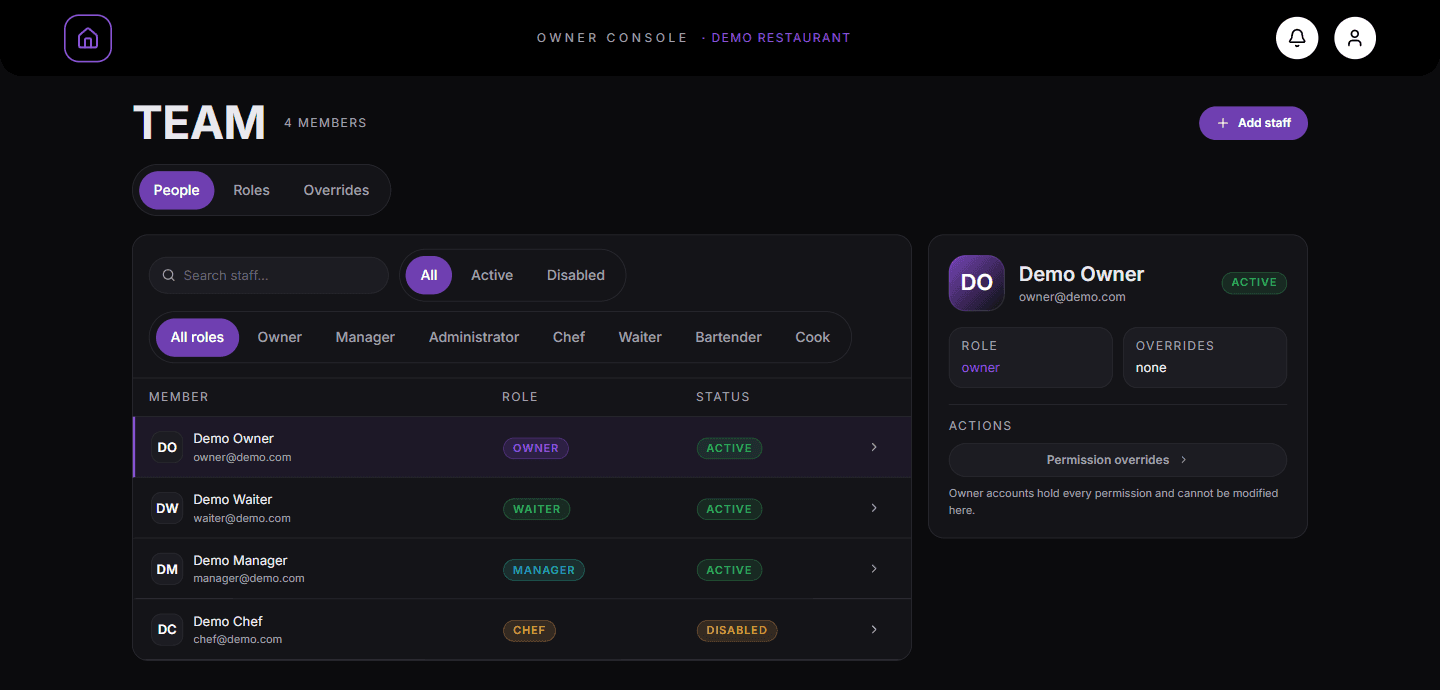
Owner console → Team → People. Add staff creates a new account. Configure operational service settings
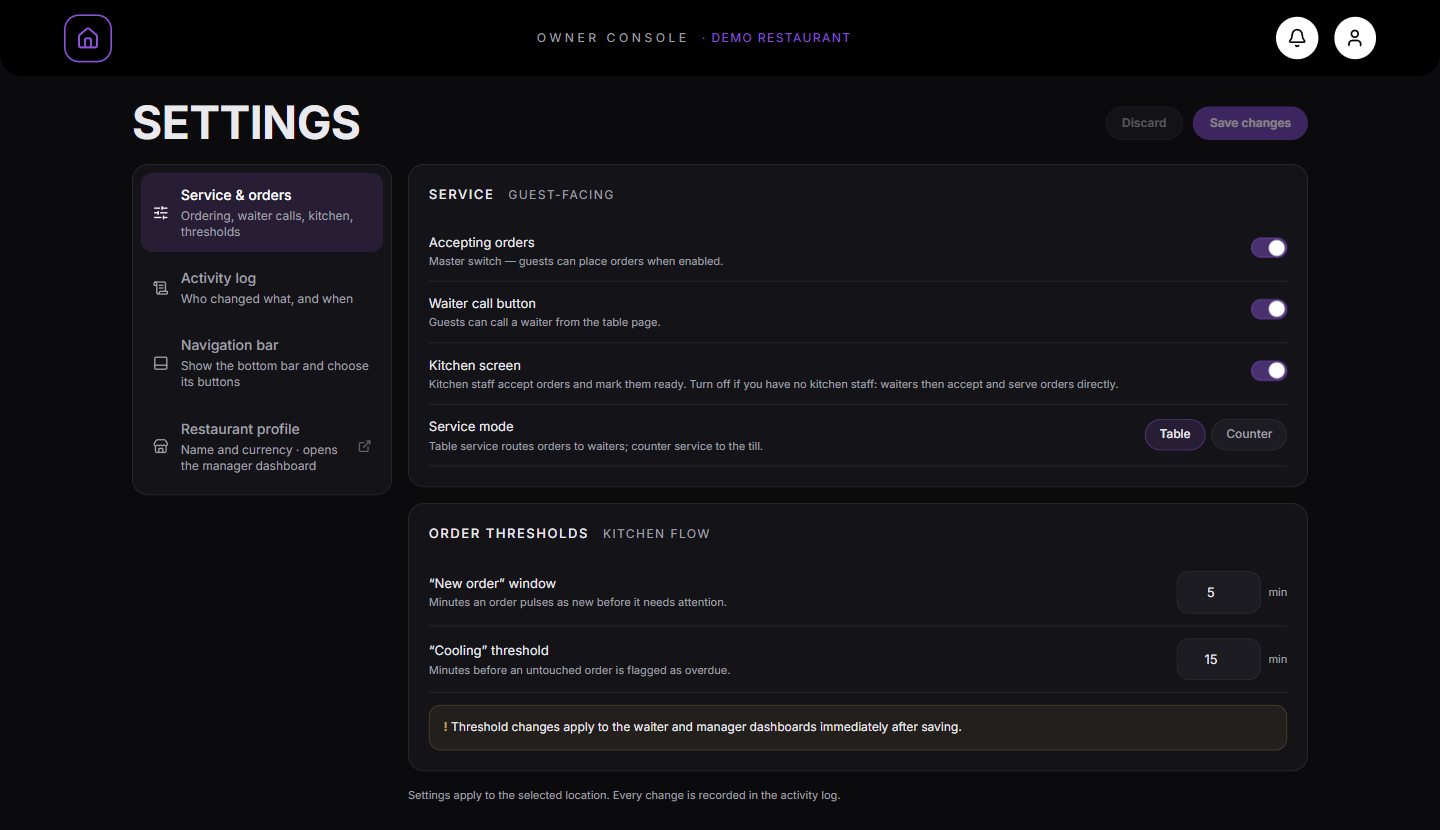
In Settings → Service & orders (`/owner/settings`), verify your order flow preferences.
Set whether you use a dedicated Kitchen Screen, choose Table Service or Counter Service, and set your order aging thresholds.
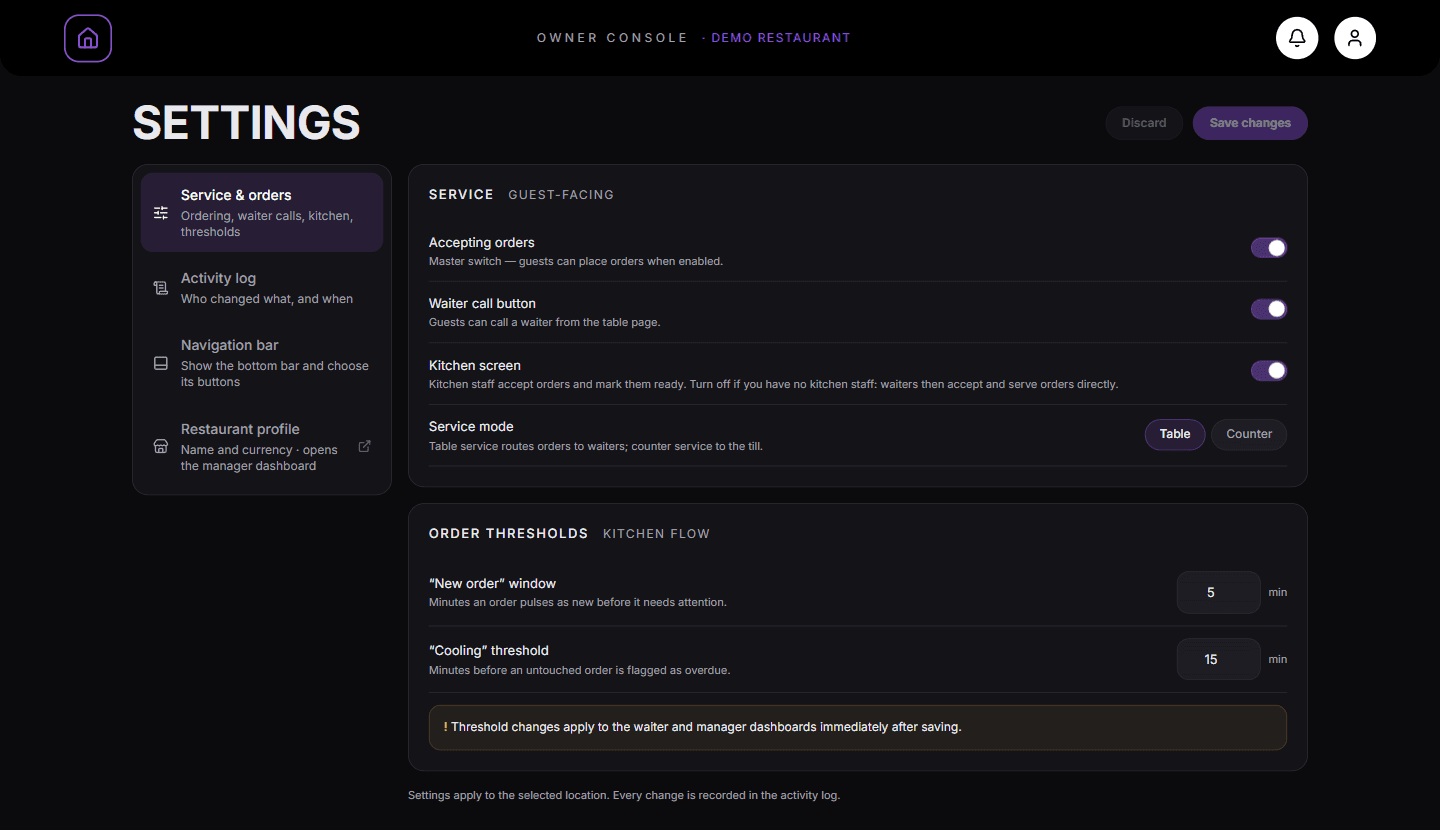
Owner console → Settings → Service & orders. The switches and service mode sit in the first panel.
What you should see
The restaurant is fully configured with tables, menu items, staff accounts, and active table cards ready for guests.
Good to know
- Menu changes made in the dashboard take effect immediately for all active guests and staff.
- Ensure cards are tested at the physical tables before the venue opens for service.
Related guides
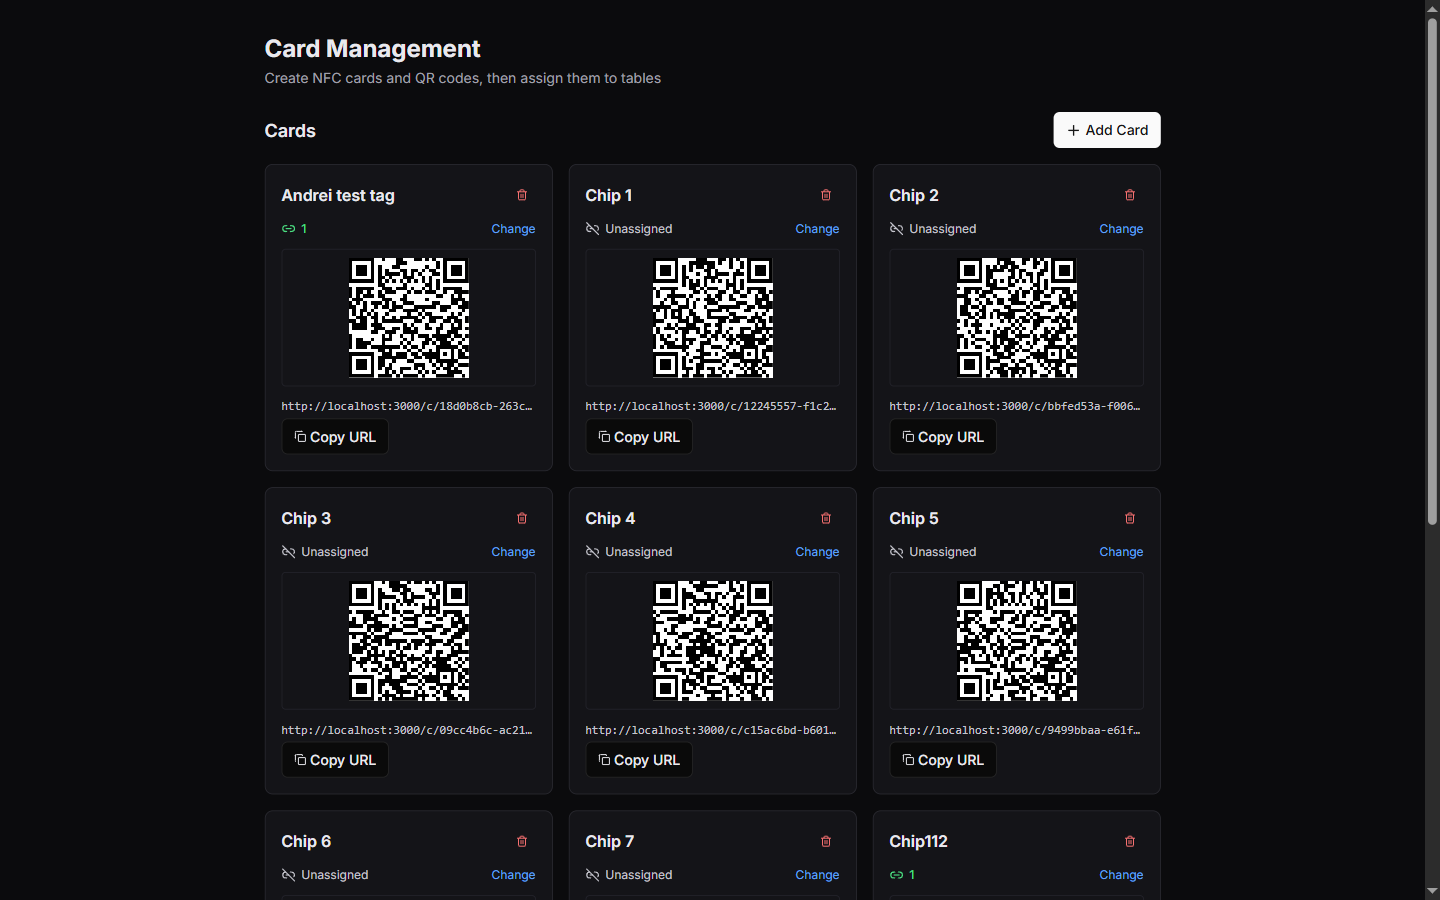
- How to Assign and Manage Cards in the DashboardRegistering cards, linking cards to tables, generating QR codes, and viewing card statuses.
- How to Invite Staff and Manage Team MembersAdding staff members, assigning system roles, generating temporary credentials, resetting passwords, and deactivating accounts.
- How to Create and Organize Menu SectionsStructuring your menu categories, reordering sections with drag-and-drop, and setting scheduled availability.