ManagerOwnerHardware & Floor
How to Assign and Manage Cards in the Dashboard
Registering cards, linking cards to tables, generating QR codes, and viewing card statuses.
Who can do thisManagers and Owners.
Steps
Open Card Management
Navigate to Dashboard → Cards (`/dashboard/cards`).
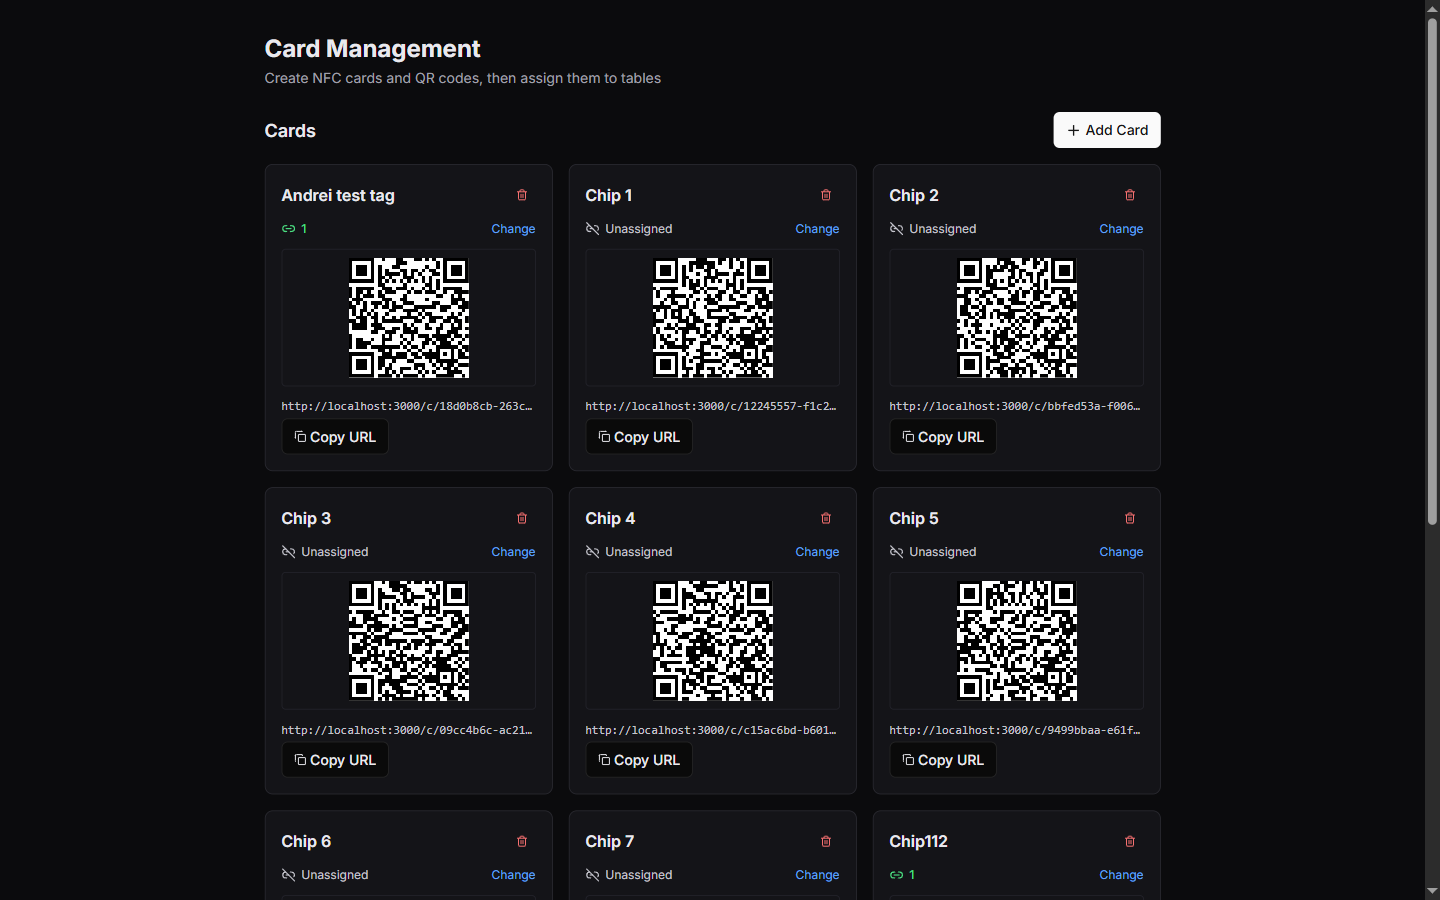
This screen displays all registered cards for the restaurant, their assigned tables, and direct QR links.
Link the card to a table
On the card, press Change and pick a table from the list.
Once linked, any customer tapping that card will immediately be routed to that table’s ordering session. To unlink a card, press Change and choose — Unassigned —.
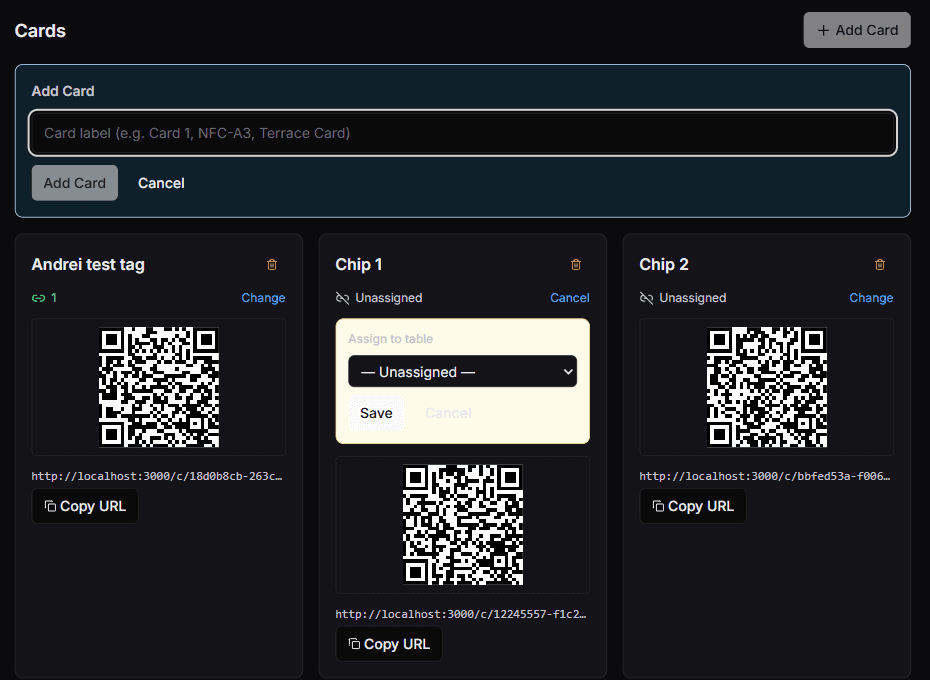
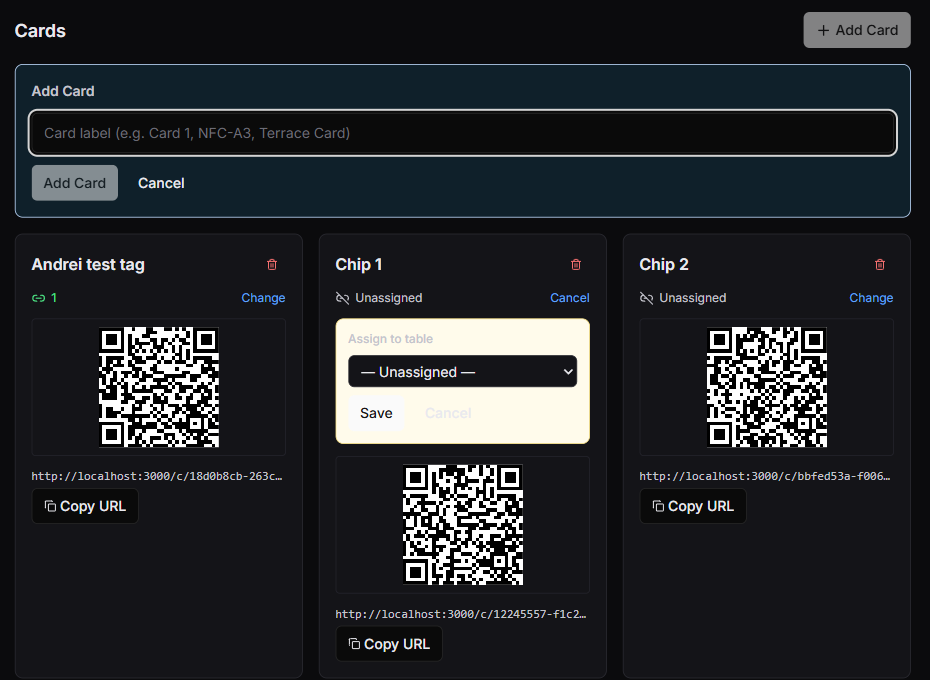
Change on a card opens Assign to table. Pick a table and press Save.
What you should see
Cards are registered, paired with floor tables, and backed up with printable QR codes.
Good to know
- If staff tap an unassigned card with their logged-in phone, MesaFlow displays a shortcut allowing them to assign the card to a table on the spot.
Related guides
- How Table NFC Cards and QR Backups WorkThe operational mechanics of physical table discs, contactless tapping, and printed QR backup codes.
- How to Replace a Damaged or Lost Table CardUnlinking damaged hardware, registering a replacement card, and preserving existing table history.
- How to Test Table Cards Before ServiceConducting a pre-shift hardware walkthrough to verify NFC tap sensitivity, QR codes, and table routing.